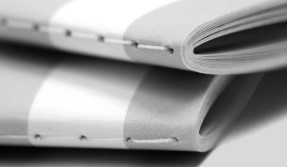
- Make the cards into a book. I actually have a book of old greeting cards. I used an old photo album –
 the ones with the clingy plastic overlay – and inserted a card on each page. You can’t see the inside of the cards in this way so I was thinking how else can the cards be made into a book where you can see both the inside and outside of the card? Make the cards into a saddle-stitch book. I will eventually make one out of some cards I have at home in a bag and post later. But there are lots of great tutorials out there on how to make a saddle-stitch book. Here is one that I like: Saddle Stitch Binding. If the cards will end up being a really thick book then use the Coptic Stitch method: Coptic Stitch Binding or make two books (as the coptic stitch is very work intensive.
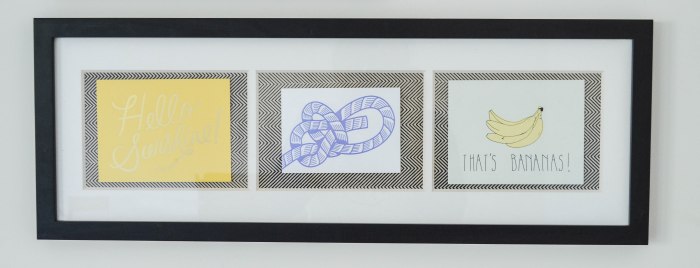
 - Frame as artwork. I wouldn’t do every single card you have this way but select no more than 5 of your favorite cards and frame them as if they were art. If you want the inside of the card on display as well; photo copy it, arrange and glue the card and copy next to each other on a piece of poster board or cardboard, cut to fit in the frame, and hang on your wall. In this photo, the person matted three cards in a single frame. The mat holes were cut the same size and the cards were floated in that space.

- Decoupage. If you aren’t that attached to your cards but keep them for the image on the front, cut off the front of each card and decoupage them onto an item like a small table, canvas, wooden box, etc. There are many tutorials online for decoupaging. Here is a good very basic one for doing it on canvas How to Decoupage. (You could also still scan in the message part of the cards and keep as digital files.) In this photo, the person decoupaged cards on this end table.
Friday, September 23, 2016
Three Ways to Creatively Use Old Greeting Cards
Thursday, April 14, 2016
Thursday, April 7, 2016
Memory Jar by Regina Sokas
Currently, I am participating in a 30-day creativity challenge from #CreativeSprint for the month of April 2016. I met a fellow sprinter, Regina Sokas, who posted this creative on April 5th:
She made this memory jar from small items of her mother's that were in a drawer and included a small photograph of her mother at the top of the jar.
This is a perfect example of Legacy and Memory making that doesn't require you to be a Rembrandt or Picasso to create.
Check out Ms. Sokas blog article at Found Patrick.
Supplies:
ceramic jar with lid
small items
acrylic paint (optional)
jewelry glue, heavy duty ModPodge or Gem-Tac by Beacon (personal favorite - I recommend these over hot glue)
Instructions:
A great tutorial using a glass jar: Glass Marble Mosaic Vase
The glass makes it a little more slippery in this tutorial, but they use grout for a more finished look but it's not necessary.
Subscribe to:
Comments (Atom)


